PROCESS
Preparation
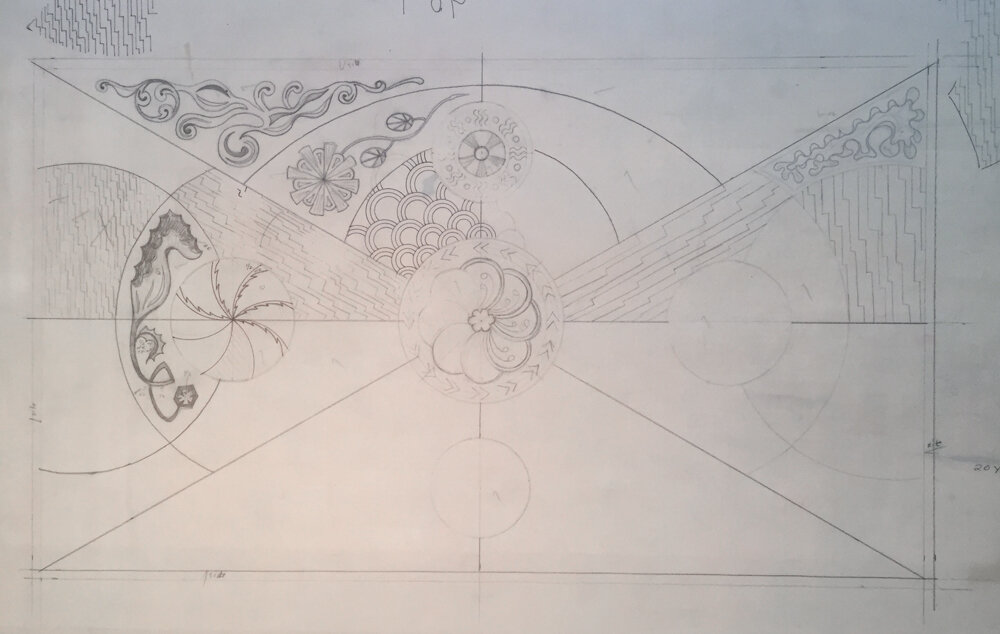
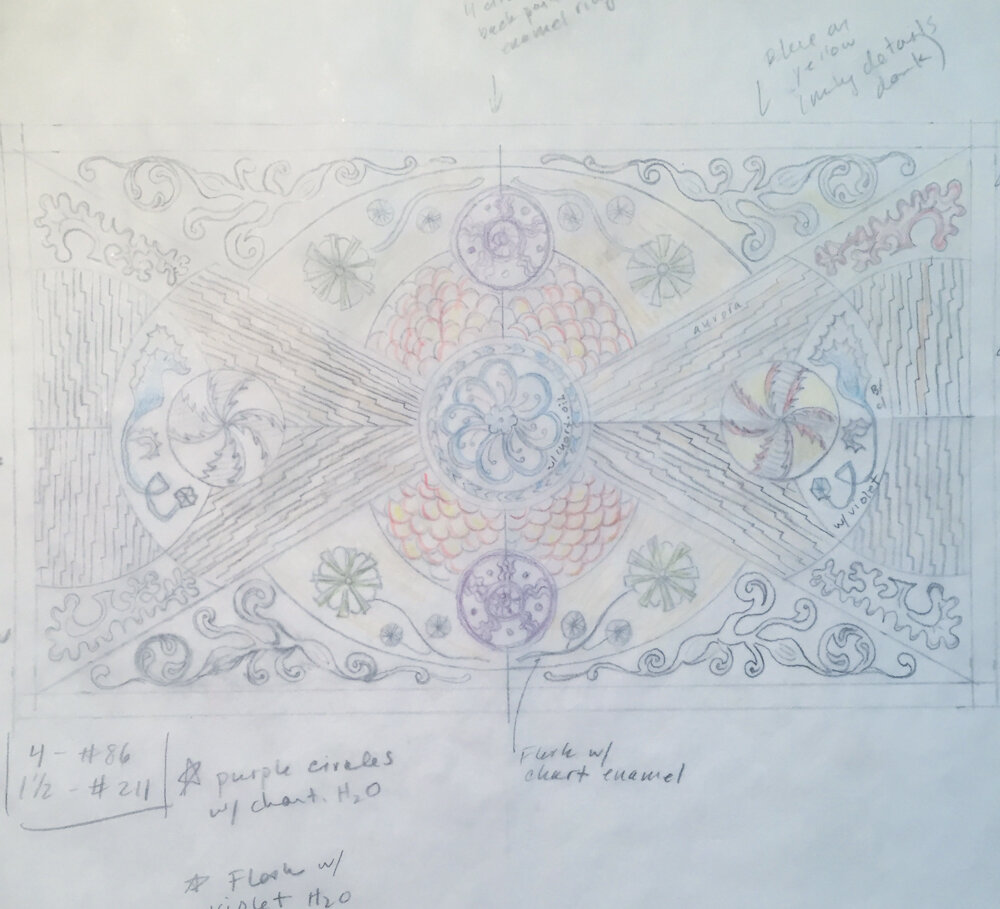
The first step in making one of my stained glass panels is a free-hand sketch. I then do a full sized drawing on velum, starting with the dimension of my exterior lead lines, then the interior lead lines and then all the designs that I will be sandblasting into and painting onto the glass. Using colored pencils I start identifying what glasses I’ll use.
Drawings to Pattern
Using carbon paper, I trace over the lead lines and transfer them onto heavy drawing paper. When I cut the drawing paper apart I have a pattern for each piece of glass I’ll need to cut.


Flashed Glass and sandblast resists
I use a hand-blown glass called flashed glass. It is glass that is made with a veneer of color on top of clear or another color. This technique was initially used in glass making to save money on expensive pigments, but what I can do is sandblast part of the top layer of glass off. Using a light box I trace the designs that I’ve drawn on the full sized drawing or ‘layout’ onto contact paper. I adhere each piece of contact paper to the corresponding piece of glass that I’ve cut, and then using a blade I cut into the contact paper and remove parts of it.


Sandblasting & Firing
The surface of the glass that is unprotected by the contact paper will be sand blasted off. After the initial sandblasting I remove more contact paper and do a second and sometimes a third sandblasting to get lighter tones. Each sandblasted piece of glass need to be fire polished in a kiln. I fire the glass up to around 1325 degrees so that the areas of the glass that were sandblasted that are now frosty and opaque become transparent and glassy again.


Glazing & Mounting Into Frame
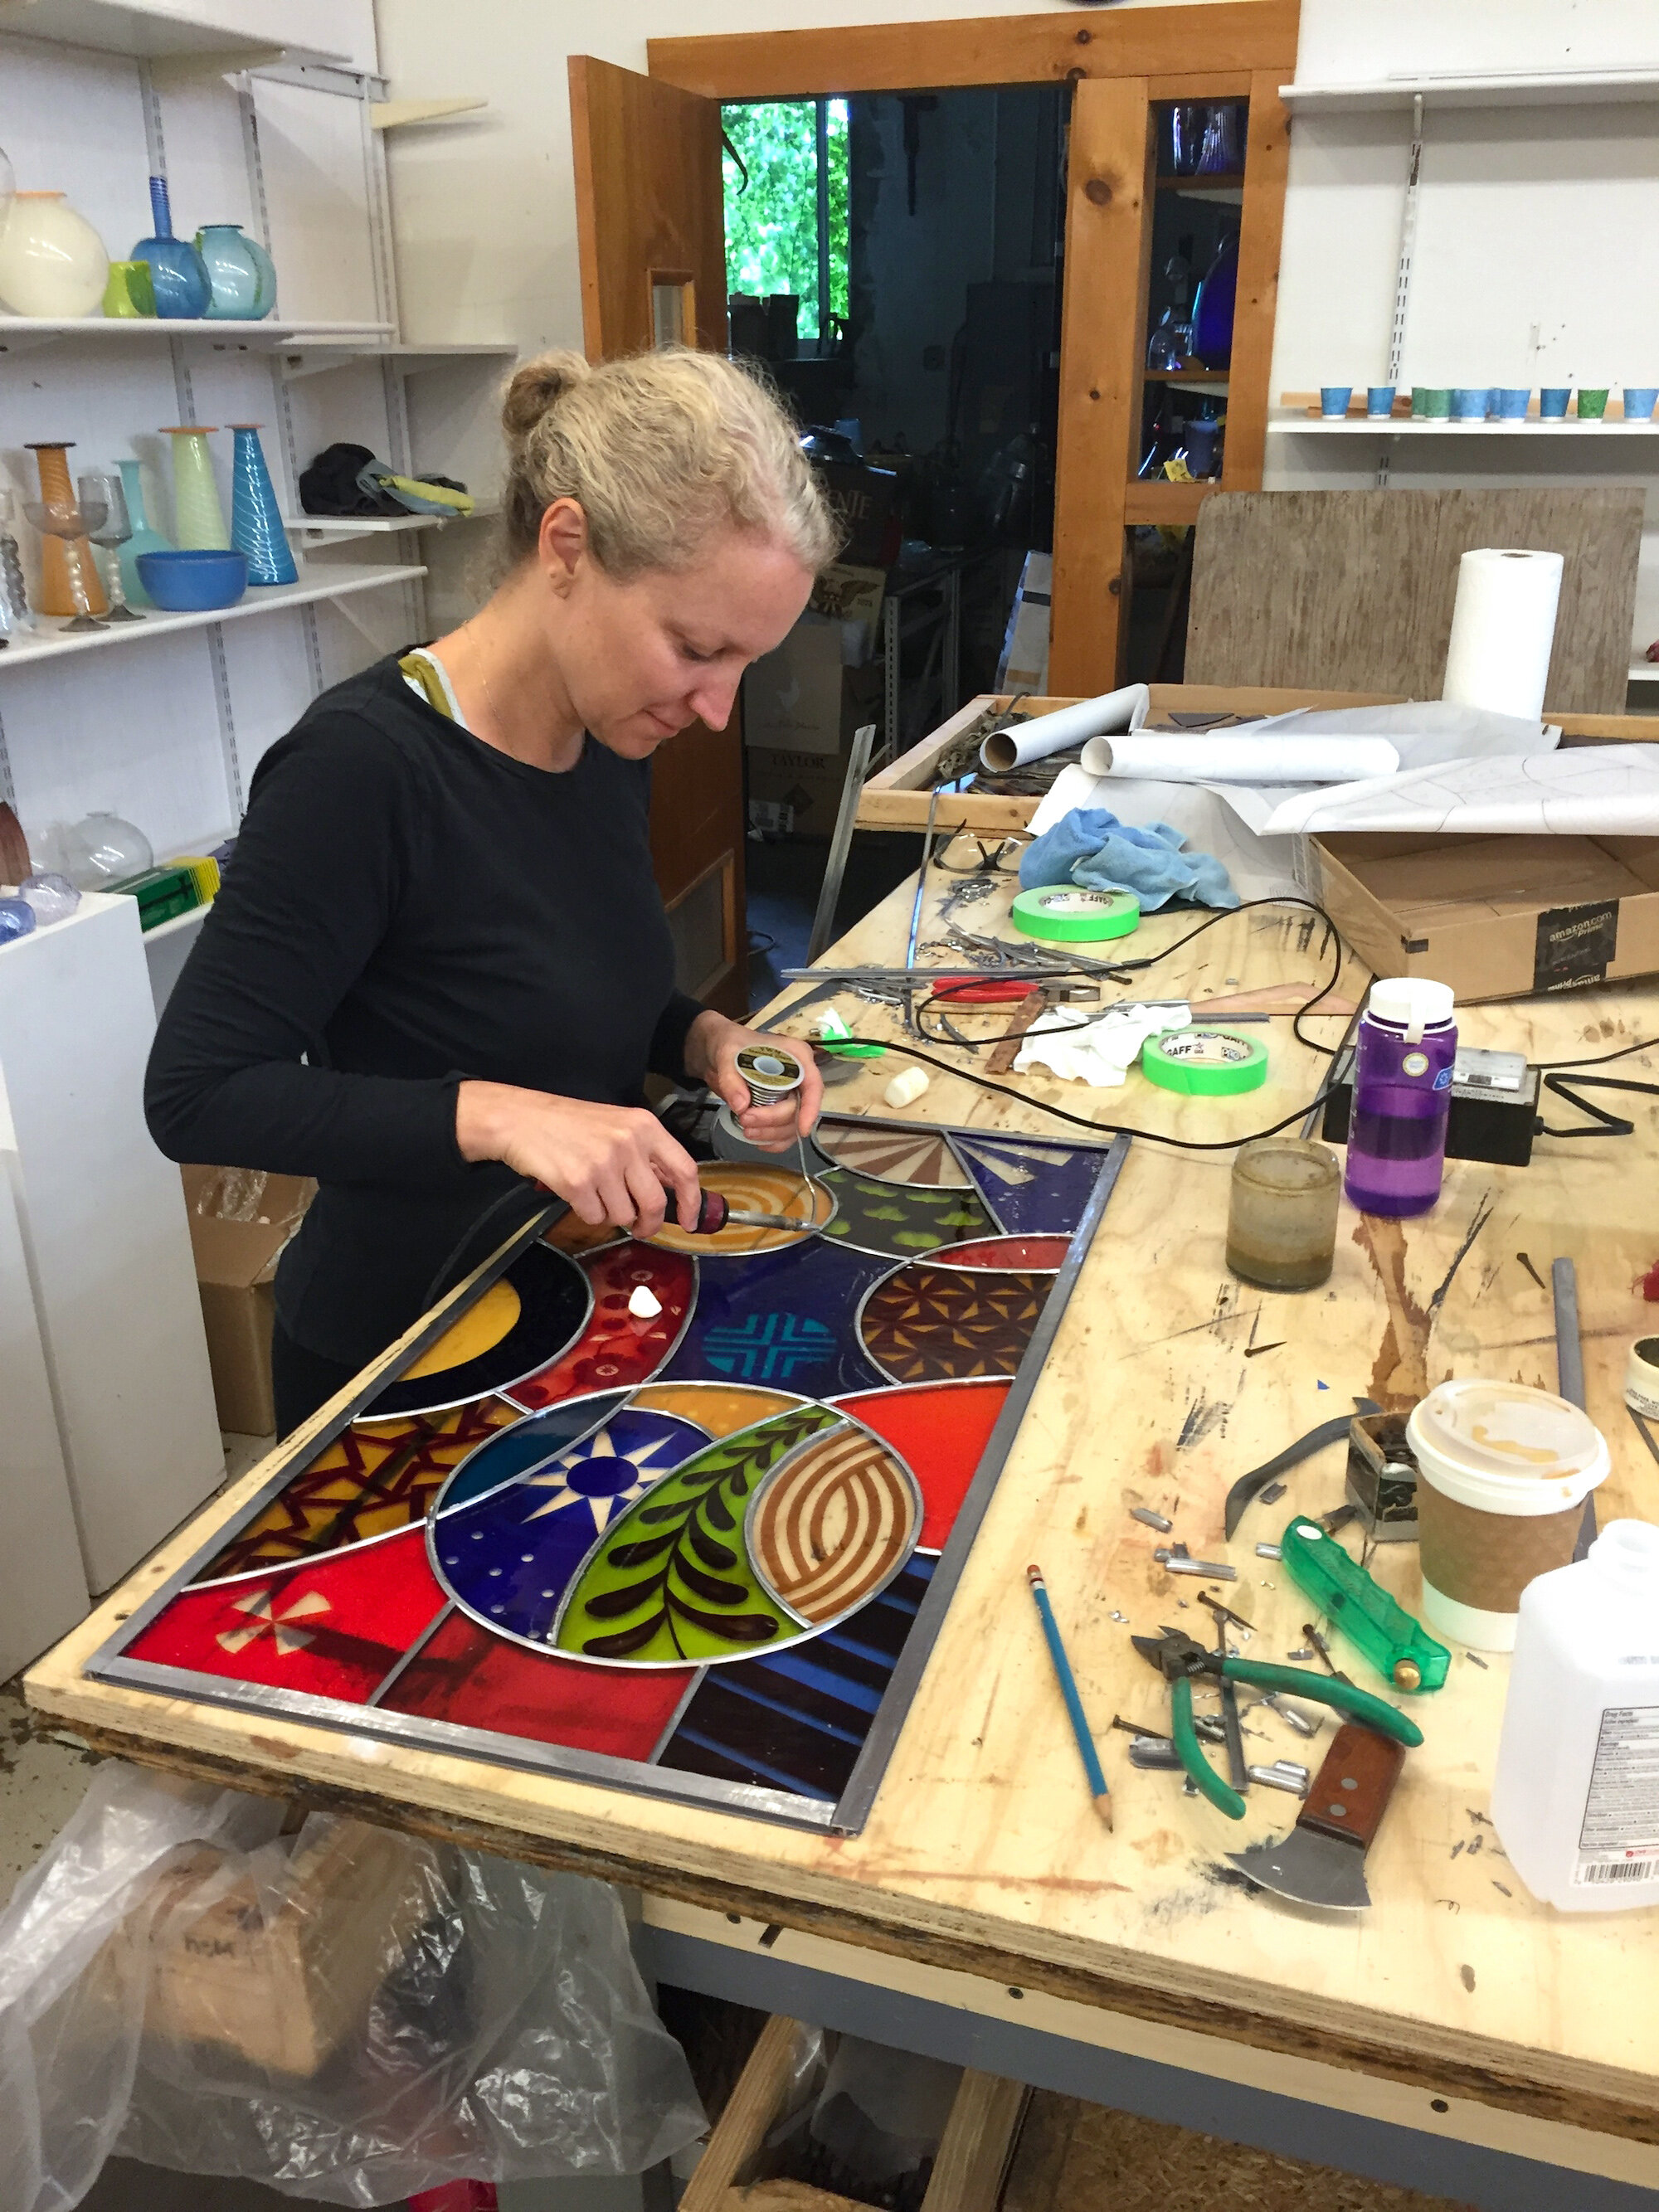
Once all of my pieces of glass are ready, hopefully nothing broke in the kiln and I’m happy with the way they look, its time to glaze the panel together. I use lead came, a centuries old method of construction. The lead comes in many different sizes and looks like a tiny I beam, with a channel on each side that the glass sits in. Using my layout I piece the panel together like a puzzle, starting from the center. Once it’s together and the outside leads are on I solder all the joints.
I use a glazing compound mixed with a black pigment to waterproof my panels. The waterproofing gets shoved under each lead to fill up the space between the glass and the lead. This helps to strengthen the panel and make it rigid.
The final step is mounting each panel into a frame. If the frame is free hanging it can be hung with wire from eye hooks screwed into a window frame. That allows a double hung window to move up and down behind it. My stained glass panels can also be mounted into fixed window frames that may already exist in a home. To see some in situ photos you can look at the ‘custom work’ folder.